Installing a car seat was an emasculating experience for me. Namely because the hospital we were at checks to make sure the car seat is installed properly before discharging you, your wife, and new little addition to the party. (I think this is the case for most if not all hospitals). And while the car seat I installed was done was installed “properly”, it was probably only a 7/10 in terms of firmness. By firmness, I mean how much that sucker can move around as you wiggle it back and forth. Obviously the tighter the better.
Well, Northwestern Hospital in downtown Chicago, which is where my wife has given birth to our two girls, happens to employ on their staff a Chief Car Seat Badass to help with car seat testing and installation. This 50 year old security guard turned registered car seat installer (yes, that’s something you can go and get an actual certification in) showed me how to step my game up. And did so in a way that made me feel less self conscious than I would otherwise.
Here are some tips he gave – and ones I’ve since learned through experience – on how to make your car seat experiences safer, and a bit more stress-free when installing. I won’t pretend to gloss over critical steps when installing a device that could save the life of your little son or daughter. So instead, I’ll provide a link to a nationally-recognized Safety organization on how to install a car seat – https://www.nhtsa.gov/how-install-rear-facing-only-infant-car-seat – and, instead, highlight a few pieces that I’ve found especially helpful:
- It should be tight enough where it’s moving no more than an inch or so when you give it a nice, firm, jiggle.
- To improve firmness (this is geared towards the models that use a shoulder strap which passes underneath the child in the base of the seat, which is how the majority of today’s car seats are engineered):
- Gather all of the slack possible in the shoulder belt before passing it through the seat (and then bucking it in).
- Then, once buckled in, pull the top strap towards you as tight as you can. Push the base down locking it in, which should be somewhat difficult to do if you’ve gathered all the slack in the prior step. You’ll need to throw your weight down on the lid to get it to close. But once complete, that thing will be good and tight.
- Don’t rush to flip them facing forward. It caused some nauseousness for our 3 year old when we flipped her forward a bit too soon for what she was prepared for. We’ve kept her continuing to face backward. Most sources say they can be rear facing until age 5.
- Avoid having your child wear a pufffy coat – or really any coat – while in their car seat if at all possible. This is what’s recommended by almost all safety regulations, as it makes securing them down more difficult.
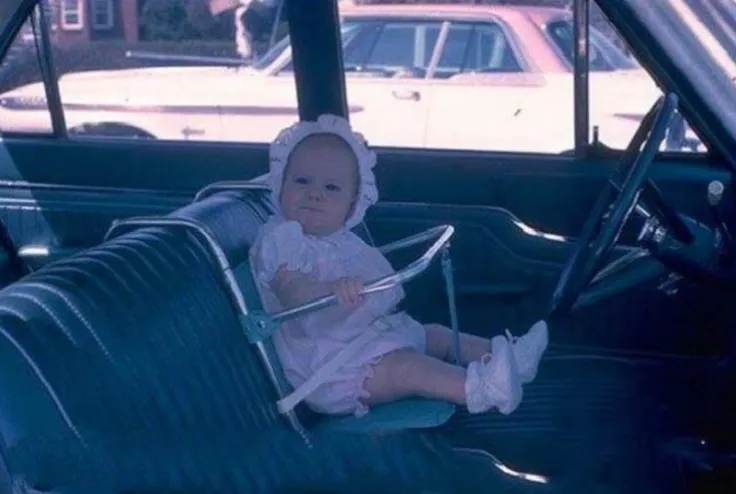
- The car seat wasn’t designed for safety purposes until 1962 (previously car seats were mere booster seats designed to let the child see out the window). And the first car seat law wasn’t passed until 1979. So if you feel guilty for not springing for the $499 Nuna, just remember that not too long ago we used these to protect our children:

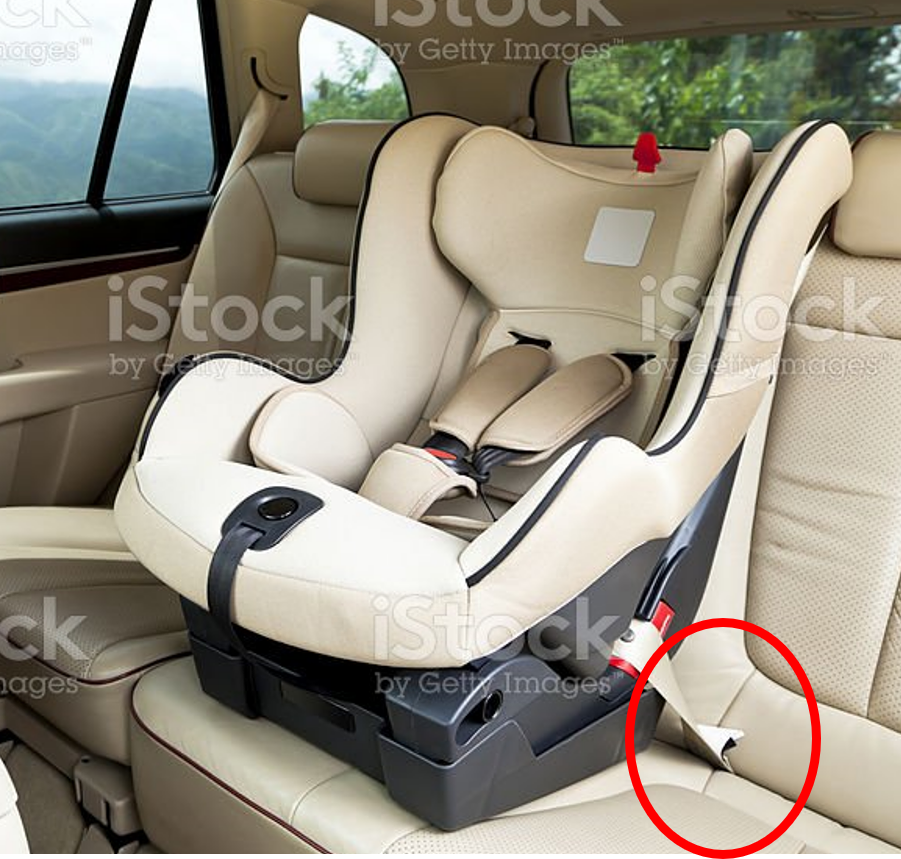
6) Take some deep breaths before clipping in the lap belt fasteners. I’m talking about these guys, which some models require and some models make optional.

Mine are optional yet I always clip them in. Depending on the car, the latches are often buried deep down into the crevices of the seat cushions. Once you find it, it usually takes some patience and strength to clip it in. Again, deep breaths.
7) Car seats fly free on airlines. So when providing your number of checked bags at the airport, don’t pay for that piece. Also, if flying with family, luggage weight tends to add up. Offloading some weight into your carseat bag is a nice little way to skirt that issue. We’ve flown with our car seat about a dozen times now and I can’t remember it being checked or opened up at ticketing even once.
That’s it for now. Happy driving. And stay safe.